Got a project in mind?
We’d love to hear about it.

Get in touch
Yellow Peach web design agency

How to Migrate a WordPress Website (and Protect Your SEO)

Yellow Peach
written by Anji

Guides

WordPress migrations - and website migrations in general - are fraught with danger. Done badly, they can undo years of SEO work in a matter of hours.

That said, if done properly and methodically, migrations (and there are several different types) should be a low-drama process that causes no issues whatsoever.

The difference between a good migration and a bad one is experience and preparation; knowing the pitfalls and getting your ducks in a row before anything goes ahead.

This guide takes you step-by-step through the whole thing: what a migration is, the different types of migration, how to prepare for a migration, the steps you should generally take, and the mistakes that we see catching people out.

If you want to move your WordPress site to a new host, new domain, or into a new structure, this is the best place to start.

Key takeaways

  • Back up everything – your files and database – and store it somewhere other than the server you’re migrating from (if relevant).
  • Test on a staging environment before you touch live DNS. You should never migrate straight into production.
  • Redirects are essential. Create a mapping document before starting (and be thorough).
  • Launch doesn’t mean you’re finished. You’ll almost always miss something, so re-crawl, fix and resubmit your sitemap (again, if relevant).

What is a WordPress migration?

A WordPress migration isn’t one thing. It’s a bit of a catch-all term. But we’ll get into that in a second. 

At its simplest, a WordPress migration is the process of moving your site – its files, database, content, and configuration – from one place to another.

As you’ll see, that covers several scenarios, each carrying a different level of risk (SEO, for instance), depending on factors like URL changes.

Types of WordPress migration

New hosting provider, same domain. 

This is the lowest-risk type of website migration (assuming you’re not moving to an awful hosting provider). Your URLs don’t need to change, so nothing should break, your users shouldn’t notice, and neither should Google.

New domain name. 

This one’s a bit riskier. Moving to a new domain means every URL on your site will change. That means you need a complete redirect map and to let Google know via Google Search Console’s Change of Address tool

HTTP to HTTPS. 

This one’s getting rarer as HTTPS is usually bundled and is more-or-less ubiquitous. However, if you haven’t made the move yet, this is still technically a URL change, so you need to make sure it’s being handled properly.

Subdomain to root (or vice versa). 

An example of this would be moving from blog.yoursite.co.uk to yoursite.co.uk/blog.
Although the content remains the same, every URL changes, so you’ll need a complete redirect strategy and should expect Google to recrawl and reprocess the site after launch.

Staging to live. 

The final step of most build projects. The danger here is usually a stray noindex tag or a staging URL left hard-coded in the database.

The rule of thumb: if your URLs are changing, your SEO is exposed, and redirects become the single most important part of the job. If they’re not, your main enemies are downtime and broken functionality.

Migration seo risk

Why WordPress migrations put your rankings at risk

It’s worth being clear-eyed about why this is the part everyone stresses about, because most migration guides — usually written by hosting companies who’d quite like you on their servers — skip past it.

Search engines have spent months or years learning your site: which URLs exist, what they’re about, how they link together, and how much authority each has earned. A migration can disrupt all of that at once. Change a URL without redirecting it and you’ve orphaned every link, internal and external, pointing at it — along with the ranking equity those links carried. Block crawlers with a leftover staging directive and Google simply stops seeing your content. Lose a page’s metadata in a botched import and you’ve reset its relevance signals.

None of this is inevitable. A well-run migration usually produces a small, temporary ranking wobble at most, which recovers within a few weeks as Google recrawls and re-establishes the new setup. A badly run one produces a cliff edge. The steps below are almost entirely designed to keep you in the first camp.

Before you migrate: the preparation checklist

Good groundwork is where migrations are won. More planning up front nearly always means less firefighting later.

Take a full backup

Before making any changes, make sure you have a complete backup of both your website files and database. If your website is managed by a web agency or is covered by a support and maintenance agreement, this should already be part of your service.

Ideally, backups should be stored offsite, rather than on the same server you’re migrating away from. For additional resilience, it’s good practice to have backups replicated across more than one provider or storage location, ensuring you still have a recovery point if a server, hosting account or backup platform experiences an issue.

If you don’t already have a backup solution in place, there are several WordPress plugins and website management platforms that can help. Tools such as UpdraftPlus, Duplicator and ManageWP can create full website backups and store them remotely in services like Google Drive, Dropbox or Amazon S3.

Whatever method you use, verify that your backup has completed successfully and can be restored if needed. A backup is only valuable if you know it works.

Crawl and document every URL

Run a full crawl of your current site with Screaming Frog and export the list of URLs to a spreadsheet. This is your redirect map, and it’s the most important document you’ll produce. You can’t redirect URLs you haven’t recorded, and rebuilding this list after the old site is gone is a miserable job.

While you’re there, capture the important on-page SEO elements too: title tags, meta descriptions, canonical tags, and any structured data. These need to survive the move.

Baseline your rankings and traffic

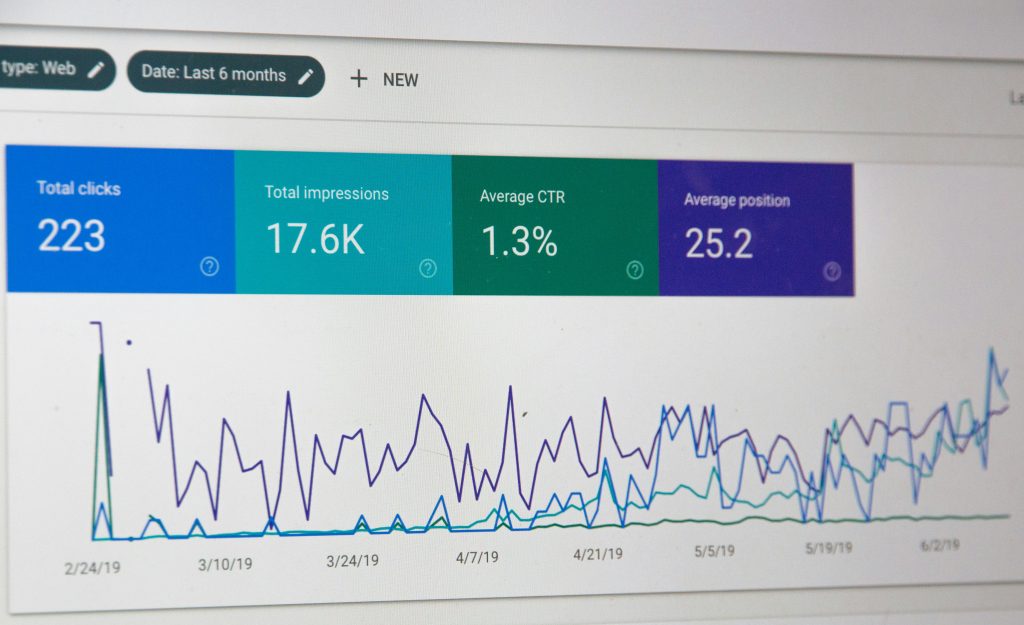
Before anything changes, export or screenshot your current performance from Google Search Console and GA4. Note your top-performing pages, your main keywords, and your traffic levels. Without a baseline, you’ve no way of knowing whether the migration hurt you — or by how much — so you can’t react if it did.

Confirm your Search Console access

Make sure your Search Console property is verified and that you’ll still have access after the move. If the domain is changing, you’ll need both the old and new properties set up so you can use the Change of Address tool and monitor both sides of the transition.

All in one migration

How to migrate a WordPress website, step by step

With the prep done, the move itself is methodical rather than difficult.

Step 1 — Choose your migration method

You’ve two broad options: manual (moving files via FTP/SSH and the database via a database manager) or plugin-based. For the overwhelming majority of migrations, a plugin is faster, safer, and far less error-prone.

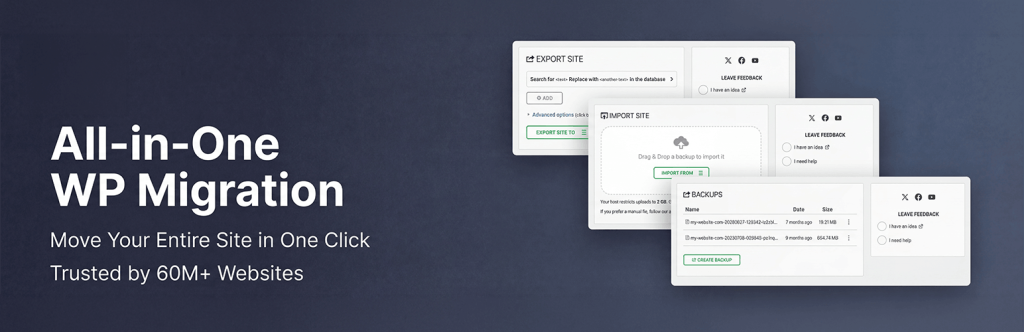
  • All-in-One WP Migration — the simplest option. Good for straightforward sites where you want a one-click export and import.
  • Duplicator — more control and better suited to larger or more complex sites, though it asks a little more of you technically.

Reach for the manual route only when a site is too large for plugins to handle comfortably, or when you want granular control over the database.

Step 2 — Export the site

Use your chosen plugin to package the site into a single downloadable file — the whole site, database included. Let it finish completely before you do anything else; interrupted exports are a common source of corrupted packages.

Step 3 — Set up the new environment

Get the destination ready before you import. Create the hosting account, set up an empty database, and — importantly — match or exceed the PHP version your site currently runs on. Importing a modern site onto an outdated PHP version is a reliable way to break things on arrival.

Step 4 — Import to the new environment

Install WordPress and your migration plugin on the new host, then import your package. The usual snag here is a server file-size upload limit that’s smaller than your package. You can raise it by editing php.ini or .htaccess, or by asking your host to lift it temporarily — most will.

Step 5 — Update the site URLs

If your domain is changing, the old domain will be baked into your database in hundreds of places. Don’t try to find-and-replace this by hand — WordPress stores some data in a serialised format that breaks if edited carelessly. Use the Better Search Replace plugin, which handles serialised data safely, to swap the old domain for the new one throughout the database.

Step 6 — Test before you go live

This is the step that separates calm migrations from chaotic ones. Before pointing your domain anywhere, preview the migrated site on the new server using a temporary URL or your local hosts file. Then work through a proper checklist: do all pages load, do images display, do forms submit, do any integrations still fire, and — if it’s a shop — does checkout complete? Fix everything you find here, while nobody’s watching.

Step 7 — Point the domain (DNS)

Once you’re happy, update your domain’s DNS to point at the new host. Changes propagate across the internet over a period known as DNS propagation, which can take anywhere from a few minutes to 48 hours. You can shorten the window of uncertainty by lowering your DNS TTL a day or two in advance, so the switch takes effect faster when you make it.

Step 8 — Set up your 301 redirects

If any URL changed during the migration, every old URL must 301 redirect to its new equivalent. No exceptions. This is where your Screaming Frog spreadsheet earns its keep. You can implement redirects with the Redirection plugin for smaller sets, or at server level via .htaccess for larger, cleaner, faster handling. Test a sample afterwards to confirm they’re firing as 301s (permanent), not 302s (temporary) — Google treats the two very differently.

Step 9 — Post-migration checks

Launch isn’t the finish line. Straight away:

  • Re-crawl the live site with Screaming Frog to catch broken links and redirect chains.
  • Check Search Console for new crawl errors and coverage issues.
  • Resubmit your XML sitemap.
  • Confirm GA4 is still tracking on the new setup.
  • Verify SSL/HTTPS is active and there’s no mixed-content warning.
  • Re-test every form and integration on the live environment.
  • If the domain changed, run Search Console’s Change of Address tool.

Then keep watching. Compare traffic and rankings against the baseline you captured, and give it a few weeks before drawing conclusions — a brief dip during recrawling is normal.

Common WordPress migration mistakes (and how to avoid them)

  • Forgetting to redirect changed URLs. The single most damaging mistake, and the most avoidable. Your redirect map exists precisely to prevent it.
  • Skipping staging and switching DNS on a hunch. Testing on the live domain means your users — and Google — witness every broken page. Preview first, always.
  • Ignoring SSL on the new host. A site that loads over http after the move, or throws mixed-content warnings, undermines both trust and rankings. Confirm the certificate is in place before launch.
  • Leaving indexing blocked. New environments often ship with “Discourage search engines from indexing” ticked, or a noindex left over from staging. Untick it. Then double-check you did.
  • Not telling Search Console about a domain change. If the domain moved and you didn’t use the Change of Address tool, you’ve made Google work harder to understand what happened — and slowed your recovery.

When to hire an agency for a WordPress migration

A DIY migration is entirely realistic for a small, simple site on a same-domain host move. If your URLs aren’t changing and your site is a handful of pages, a careful afternoon with the right plugins will get you there.

The calculation changes as complexity rises. It’s worth bringing in a partner when the site is large or content-heavy, when there’s a domain change or URL restructure involved, when there are integrations or a shop that can’t afford downtime, or when the site earns real revenue from organic search and a ranking drop would genuinely hurt. In those cases the cost of getting it wrong dwarfs the cost of getting help.

“Nine times out of ten, when a client comes to us after a migration has gone wrong, the site itself is fine — it’s the redirects that were never mapped. The technical move is the easy part. Protecting the SEO is the bit that needs experience.”
– Anji Whitamore,
Yellow Peach

At Yellow Peach, migrations are core to what we do — we move sites onto WordPress and between environments as a matter of routine, with the SEO safeguards built in from the planning stage rather than bolted on at the end. If you’re weighing up a move and the stakes feel high, that’s exactly the point to talk to someone.

Share this article

Ready to push your platform?

Ready to push your platform?

Ready to push your platform?

Ready to push your platform?

Ready to push your platform?

Ready to push your platform?

Ready to push your platform?

Ready to push your platform?

Ready to push your platform?

Ready to push your platform?

Ready to push your platform?

Ready to push your platform?

Ready to push your platform?

Ready to push your platform?

Ready to push your platform?

Ready to push your platform?

Ready to push your platform?

Ready to push your platform?

Ready to push your platform?

Ready to push your platform?

Ready to push your platform?

Ready to push your platform?

Ready to push your platform?

Ready to push your platform?

Ready to push your platform?

Ready to push your platform?

Ready to push your platform?

Ready to push your platform?

Ready to push your platform?

Ready to push your platform?

Ready to push your platform?

Ready to push your platform?